
How To Cut Out Anything Using Adobe Photoshop And Its Tools?
Often we find unnecessary objects in the background bothering the overall appearance of the picture. Sometimes, it is cumbersome to get it removed or erased as that may mar the very intention of the picture taken. Bearing these professional hurdles in mind a new and convenient process has been available in Photoshop and most of the people experienced it are delighted about it. As how to use Photoshop to remove the subject’s background in a photo is easy to adapt and apply, a lot of time can be saved and turnaround time can be reduced. This is offering of Photoshop will make you enjoy cut, paste and change backgrounds as per your desire. As usual, Photoshop is putting out these easy methods for those professionals who want that extra effect in each of their image capturing.
These tips can enhance the professional’s ability to deliver extraordinary images as a routine affair resulting in better appeal and repeat orders. Most of the product images in e-commerce, real estate, portraits, industrial products images can enhance a better appearance by using the below mentioned Photoshop tools and techniques. Back ground editing has never been so easy and accessible.
For getting a roundabout idea, please go through the following tips:
QUICK AND DIRTY SELECTION

Let’s start with the Quick & Dirty Selections. Sometimes you just need to quickly remove something from its background with no questions asked. If the result does not have to be pixel perfect there is a range of Photoshop tools that offer you quick and easy clipping solutions.
THE ERASER TOOL

If the first tool you reach for is the Eraser when you are faced with the task of cutting something out you need a slap on the wrist. The Eraser tool should be left in Microsoft Paint. In Photoshop Layer masks provide the same functionality but without destructively editing your images. If you have steady hand on the UNDO button, the Eraser tool can quickly rub out portions of an image you don’t want. Be careful near the edges.
THE MAGIC WAND TOOL

This was the first tool discovered in Photoshop, but as you level up in the experience you realize its capabilities do not stretch very far. However, the Magic Wand Tool is great tool for cutting out simple images where there is a clear definition between edges.
THE QUICK SELECTION TOOL
This tool is a step up from Magic Wand. With this tool you paint over the exact area you want masking and Photoshop will apply a mask based on the instructions. It is much easier than the trial and error of the Magic Wand Tools tolerance setting. Now, we have the basic stuff out of the way we can look at the Pro techniques. The best clipping results often come from manual drawing selection around your subject.
THE POLYGONAL LASSO TOOL
Lasso tool is another tool that beginners rely on until they graduate to the Pen Tool. This tool is great for quick selections, but its series of straight edges and accidentally double clicking and closing the selection too can make this tool a nightmare when used for more advanced selections.
THE PEN TOOL

This tool has many more benefits over the Lasso Tool. For starters you can create curved outlines which is useful for those who lives outside the Minecraft world. The tool also creates paths that can be edited and saved for future use which are valuable features when working on real world projects. The basic mechanics tools Bezier curves could take an entire video to explain but once you mastered this tool it becomes your best friend. Trace your image making an accurate path within a few pixels inside the edge of your subject to avoid capturing any slithers of background in your cut out, then close the path back at the starting point. This path can be tweaked using the Direct Selection Tool or you can save it by giving a new name under the paths panel for easy re-selection later. Your path can be converted into a selection at any time. You can add feathering to eliminate any harsh edges. The Pen tool is the Swiss Army Knife of Photoshop Tools. There is not many situations where this thing can’t be used, but there might be other techniques that are faster especially when trying to tackle complex stuff like hair, fur or fine details.
TONAL SELECTIONS
Tonal Selections is the name used for techniques that use the overall contrast and color of an image to make a selection. These methods are great for ultra-defined images where it is just not feasible to draw a selection manually.
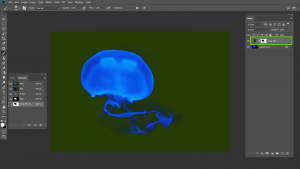
CHANNELS
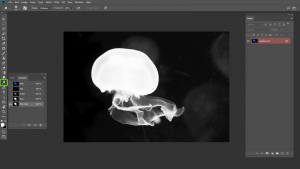
Every image is made up of a Red, Green and Blue channel that each contains a different tonal version of the picture. Channels can create the most perfect selections from ultra-fine details such as hair or fur, but they don’t work well with detailed backgrounds or where there’s a lack of contrast. In the Channels panel, toggle the visibility of the Red, Green and Blue channels individually to find the one with the highest contrast between the areas you want, and the areas you don’t. Drag it over the New Icon to make a duplicate. You can increase the contrast further by adjusting the levels of Curves to darken the blacks and lighten the whites. Once you’ve achieved good contrast between the fine details of your image, you’ll also need to fill in any remaining areas of your desired selection manually with a black brush. Load the selection of your Channel by Command CONTROL + Clicking on the thumbnail from the Channels panel. Whenever you have an image with clear contrast between your subject and the background the Channels will provide the best and cleanest selection. They are especially great when selecting hair or fur, but only if the background is clean.
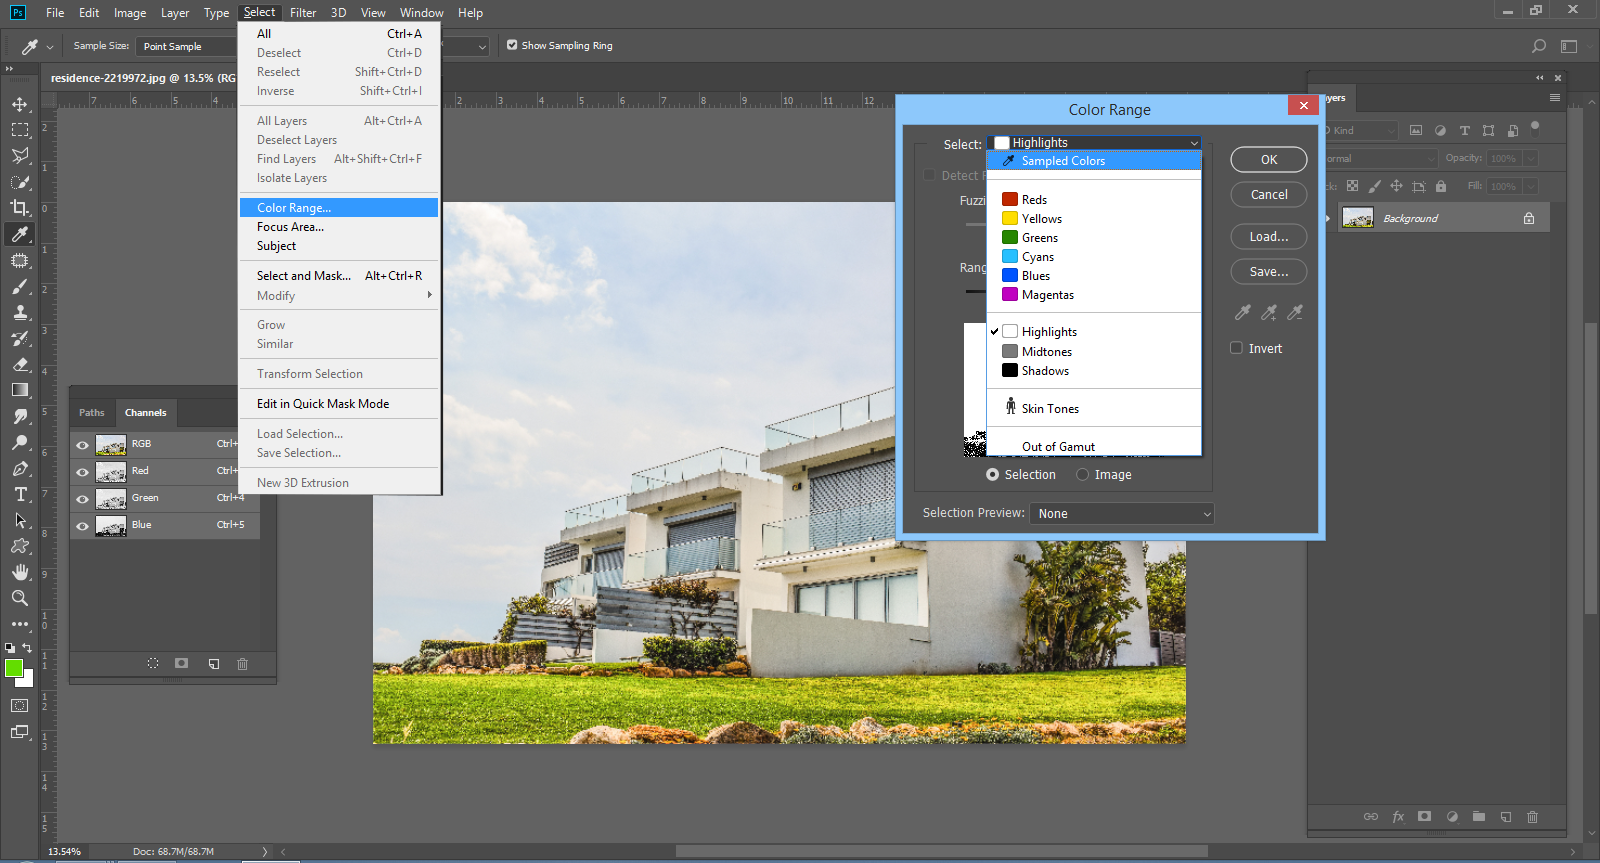
COLOR RANGE

Color Range from the Select menu is a handy tool that can be used to make quick selections based on the tones of an image. Its particularly used to select highlights or shadows, or of you need to select areas of a specific color from your image.
Go to Select -> Color Range to open the Color Range options. Choose from Sampled Color, or pick from Highlights, Midtones or Shadows if you only need to select bright or dark areas of an image.
MASK SELCTIONS
Masks are the ultimate non-destructive editing tools. Rather than permanently erasing your image, they hide the unwanted portions just in case you want to edit the selection later. Draw your Masks manually or use them with any of the previously mentioned selection techniques to temporarily delete portions of your images.
LAYER MASKS
Layer Masks are applied to a single layer by selecting the Add Layer Mask icon at the bottom of the Layers panel. Whatever area of the mask are black are the portions of that layer that are hidden. We talked about Layer Masks being a better alternative of the Eraser tool earlier. To use this technique with a mask, you would use the brush tool in place of the Eraser and paint those unwanted areas away with a black brush. The key difference is if you make a mistake, you can rectify it by painting back over the area in white.
CLIPPING MASKS

Clipping Masks are like Layer Masks, except that can be applied to multiple layers. They still work on the same principle of black areas are hidden, white areas are visible. ALT+Click between the two layers in the Layers panel or right click on your chosen layer and select Make Clipping Mask from the menu. Remember to place the clipping mask under your main image in the layer stack.
TIPS:
USE THE REFINE EDGE TOOL TO CUT OUT HAIR & FUR

The Channels technique is perfect for cutting out model shots against perfect studio backgrounds, but for every other scenario the Refine edge tool is your best option. This tool should really be named “The Hair Tool” as that’s really all I have seen it used for. It takes your basic Magic wand, Pen or Lasso selection and expands it to intelligently capture those fine details. Trace a path around the subject, but just roughly outline any areas of hair or fur, not worrying about fine strands.
Go to Select -> Refine edge and increase the radius value to see the hair magically appear in the selection. Expand the brush options and paint over the areas of hair you want to keep with the Refine Radius tool. Switch over to the refinements tool and paint around any areas where this refine edge adjustment isn’t required. The final selection will hopefully make a good hair selection even against the most detailed of backgrounds, as long as there’s enough contrast.
DEFRINGE TO ELIMINATE OUTLINES AND HALOS
Sometimes when you paste your cut out onto a darker background, you will notice it has a very fine light outline or halo. There is easy way to eliminate this using the Defringe option.
Go to Layer->Matting->Defringe and enter 1px in the options. With just one click of a button that ugly outline will be gone. Be careful through this can ruin your cutouts with extremely fine details.
DOODGE & BURN THE IMAGE TO ADJUST THE CONTRAST
The tonal selection method that uses the Channels can generate perfect selections if the contrast and tone of the image is right. Levels and Curves adjust the whole image, but you can fine tune specific areas with the Dodge & Burn tools. Use the Dodge tool to brighten areas of the background such as the sky. A blue sky will appear mid-grey in a channels selection, but you can brighten it up to add more contrast between it and your main subject. The Burn tool can help darken areas within a selection that might be too delicate to paint with a pure black brush. Change the mode to Shadows, Midtones or Highlights to safely target the right area.
PAINT THE HAIR BACK IN
Sometimes it’s just impossible to make a clean selection of a person’s hair from an extremely busy background. In such situations there is one final tip that can save – Paint them some new hair. Make a rough selection around the subject’s hair line and paste the cut out on a new layer. Reduce the opacity of the original image below it in the Layers panel. Use the Smudge tool with a fine brush to paint back in the individual hair. Begin with 3-4px soft brushes to flesh out the thick base, then incrementally reduce the brush to paint in finer stray hairs. This sound like an extremely tedious process, but it doesn’t take long, especially if you have a Graphics tablet.
BUY A PHOTOSHOP PLUGIN
Fluid mask is a popular choice that has features designed specifically for selecting complex hair, trees, glass and translucent fabrics. If you find yourself spending countless hours cutting out images, you might find a little extra help from a plug-in can speed up your workflow and improve your results.
You may have found this informative and fascinating. These easy to use techniques can help you remove some of the irritants in your carefully captured images so that a better image is delivered and your client is satisfied. Moreover, it will instill more confidence in you with this additional knowledge in your kitty. Yet, you may also have a few doubts and unclear areas. You can also outsource these type of jobs to professional photo editing companies who have been practicing.
You can reach out to remove whatever anxiety you may have. Response will be quick and satisfactory.
You can reach out to us if you need any help in removing any thing from your photos (unwanted object removal) or if you need a background change/transparent background for your picture. We have the best of Photoshop professionals who can assist you on your requirements and make your pictures look nice.