
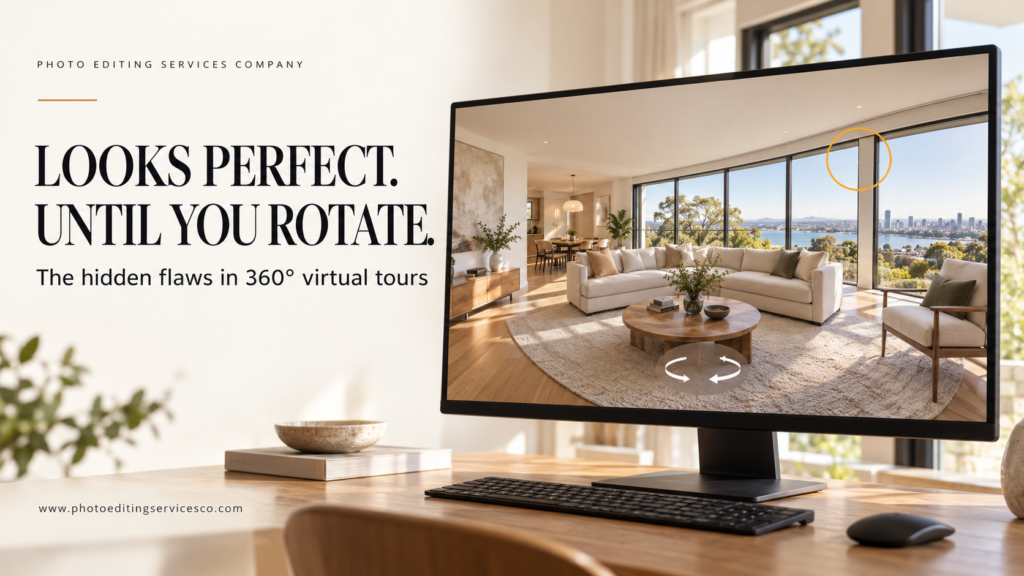
Your 360° Tour Looks Perfect—Until Someone Drags the Screen
The room looks beautiful. The lighting feels inviting. The opening view is ready for a property listing.
Then someone drags the screen.
A window frame appears broken. A ceiling line changes direction. Near the floor, a blurry patch interrupts the tiles.
The first impression was polished. The interactive experience tells a different story.
This is an overlooked challenge in 360 panorama photo stitching: approving an image from a single attractive view instead of checking the entire environment.
For real estate photographers, hotels, interior designers, and virtual tour agencies, the final review should follow the viewer’s behaviour.
If customers can look everywhere, quality control needs to look everywhere too.
Why a Flat Preview Cannot Tell the Whole Story
A spherical panorama is often delivered as an equirectangular image—a flat representation of the surrounding scene.
For a full 360° × 180° panorama, this commonly means a 2:1 image. However, its appearance in an ordinary image viewer differs from the view inside an interactive panorama player.
Some stretching and curved lines are expected consequences of the flat projection. They are not automatically stitching mistakes.
The important distinction is between projection-related distortion and genuine defects, such as disconnected edges or duplicated objects.
Review both the exported image and its interactive presentation. A small preview alone is not enough to judge the finished experience.
1. The Final Seam Can Hide Behind the Opening View
A full panorama wraps around. Its left and right edges meet when displayed in a spherical viewer.
That junction deserves a deliberate inspection.
An editor may carefully review the centre of the exported image while missing a brightness change or alignment problem where its edges reconnect.
Inside the tour, the viewer can rotate directly towards that area.
What to check: Complete a full rotation and continue slightly beyond the starting position. Look for sudden changes in colour, interrupted architectural lines, repeated details, or a narrow visible seam.
The opening direction should highlight the space. It should not become a way to avoid showing an unfinished section.
2. Nearby Furniture Can Reveal Alignment Problems
A room may look convincing at first, while a nearby chair, railing, or countertop shows a doubled edge.
One possible cause is parallax: foreground and background objects shift relative to one another when photographs are captured from different viewpoints.
For stitched panoramas, rotating around the lens’s appropriate no-parallax point helps reduce this problem. A tripod alone does not guarantee correct rotation.
Editing can address some alignment conflicts, but difficult source images may require compromises or a reshoot.
What to check: Inspect objects close to the camera, especially where they overlap distant details. Follow chair legs, railings, doorframes, and countertop edges across image joins.
Do not judge alignment only from distant walls.
3. Brightness Changes Can Make One Room Look Like Several
Imagine rotating through a hotel suite and seeing a neutral wall turn yellow, then noticeably darker.
Some lighting variation is natural. Daylight, lamps, and different surfaces genuinely affect how a room looks.
The issue is an abrupt change caused by inconsistent processing or blending between source photographs.
The objective is believable continuity while preserving the actual lighting character.
What to check: Rotate slowly across plain walls, ceilings, and flooring. Broad surfaces can make unexplained brightness bands or colour changes easier to notice.
Review window areas as well. The transition between a bright exterior and the interior should look intentional rather than patched together.
4. Look Down: The Floor Is Part of the Experience
The downward-facing area of a spherical panorama is called the nadir.
It often requires attention because the tripod or support equipment may appear there. A rushed repair can leave repeated tiles, smeared grout lines, broken floorboards, or an unnatural circular patch.
An opening view pointed towards attractive furniture may conceal this area. A curious visitor can reveal it immediately.
What to check: Tilt down completely and inspect the floor pattern. Check whether lines continue naturally and whether texture, sharpness, and lighting match the surrounding area.
Where accurate repair is impossible from the available photographs, discuss a suitable additional capture or an explicitly agreed presentation treatment.
5. Look Up: Ceiling Details Need Their Own Review
The upward-facing area is the zenith.
Ceiling lights, beams, decorative moulding, and fans provide useful reference points for spotting mistakes. A broken beam or duplicated light fitting can become obvious when the viewer tilts upwards.
What to check: Inspect the ceiling at a normal viewing angle and with a moderate zoom. Follow structural edges through the joins.
An unusual appearance in the flat file may result from projection. Confirm the issue in the spherical viewer before requesting a correction.
6. Moving Objects Can Leave Ghosts
People, curtains, vehicles, and foliage may move between source photographs.
When different moments are combined, the result can include a partially transparent person, a repeated object, or an inconsistent edge.
Reflections deserve attention too. Mirrors and glass may reveal the photographer, equipment, or differences between captures.
What to check: Scan entrances, windows, mirrors, and outdoor areas. Review any region where movement occurred during photography.
Corrections should preserve the scene’s meaning. Removing capture equipment is different from removing a permanent feature that a property viewer needs to see.
7. A Good Stitch Can Still Be Presented Poorly
Stitching and tour presentation are connected, but they are different stages.
The image may be well aligned while the published experience opens at an awkward angle, uses an excessively wide field of view, or displays a heavily compressed version.
Similarly, a sharp export does not guarantee that the uploaded version will retain the same detail.
What to check: Review the actual published tour on desktop and mobile. Inspect the starting direction, zoom behaviour, image clarity, navigation, and loading experience.
If the local panorama looks correct but the published version does not, investigate export and viewer settings before assuming the stitch needs rebuilding.
A Practical “Drag, Tilt, Zoom” Review
Before approving a panorama, perform this short sequence.
Drag Through the Full Scene
Rotate horizontally through the entire panorama. Look for changes in alignment, brightness, and colour.
Tilt All the Way Up and Down
Inspect the ceiling and floor, including any tripod-removal area.
Zoom into Sensitive Details
Check window frames, furniture edges, mirrors, railings, and other areas likely to reveal joins.
Inspect the Wraparound Junction
Make sure the panorama reconnects naturally when the viewer returns to the starting direction.
Open the Published Version
Repeat the review in the intended platform, including on a mobile device.
This is a practical review method, not a technical certification. Its value is that it follows how someone actually explores a tour.
What to Send Your Panorama Editing Team
A clear brief makes it easier to deliver a usable result.
Provide the complete source sequence, grouped by panorama position. Keep exposure brackets clearly organised, and include any separate floor or ceiling captures.
Explain the intended use: a property tour, hotel showcase, architectural presentation, or another application.
Also specify:
- The destination platform or viewer.
- Required file format and output dimensions.
- Any existing colour reference.
- Known capture problems.
- Permitted retouching and features that must remain unchanged.
- Whether you need stitched images only or complete tour assembly.
A stitched panorama is an image asset. A multi-scene virtual tour may additionally require navigation, hotspots, hosting, and publishing. Confirm the delivery scope before production begins.
Frequently Asked Questions
Why does my panorama look stretched when opened as a normal image?
A spherical scene must be mapped onto a flat surface for storage and editing. Equirectangular projection introduces stretching, particularly near the top and bottom. Use a suitable panorama viewer to judge its interactive appearance.
Can every panorama stitching error be fixed?
No. Many problems can be improved, but missing coverage, severe parallax, blur, or major movement may limit the result. Reviewing the source files helps determine whether correction or additional photography is appropriate.
Is a 16:9 image suitable for a full spherical panorama?
A 16:9 image works well as an article banner or preview. A full 360° × 180° equirectangular panorama normally uses a 2:1 aspect ratio. Cropping it into a banner does not preserve the complete spherical scene.
Should panoramas be checked before or after uploading?
Both. Check the finished export for image defects, then inspect the published version for presentation, compression, and viewer-related issues.
Create Panoramas That Hold Up from Every Angle
The strongest panorama is one that remains convincing as the viewer explores it.
That requires careful alignment, consistent processing, attention to difficult joins, and a final review inside the intended viewing environment.
At Photo Editing Services Company, our 360 Panorama Photo Stitching Services cover image alignment, HDR blending, exposure correction, and geometric refinement for immersive visual projects.
We support photographers and businesses creating real estate panoramas, hotel presentations, architectural views, retail showcases, and other panoramic content.
Share your source photographs, intended platform, and delivery requirements so we can assess the work and recommend an appropriate output.
Explore our professional 360 panorama stitching services and request a project quote.
Your audience will explore beyond the opening view. Give every angle the same attention.
